

I am a lucky girl. I moved from America to Poland and learned how to cook the Polish standards from the best authority on the subject - Babcia (Grandma). I always thought pierogi and especially pierogi dough were just too difficult for an amateur like me, and my first attempts proved me right...until I learned some tricks that make my pierogi dough perfect every time. This easy pierogi dough recipe is just that, easy. With only 3 ingredients there's no need to make this easy pierogi dough ahead of time or even rest it. It just works.
Give my easy pierogi recipe a try and as always, smacznego to you!

Prepare your area and assemble your team. You will need a large, clean surface for preparing and rolling out your dough and an area to place your pierogi before boiling and also after boiling. Have some clean tea towels on hand to cover your pierogi before boiling so they don't dry out.
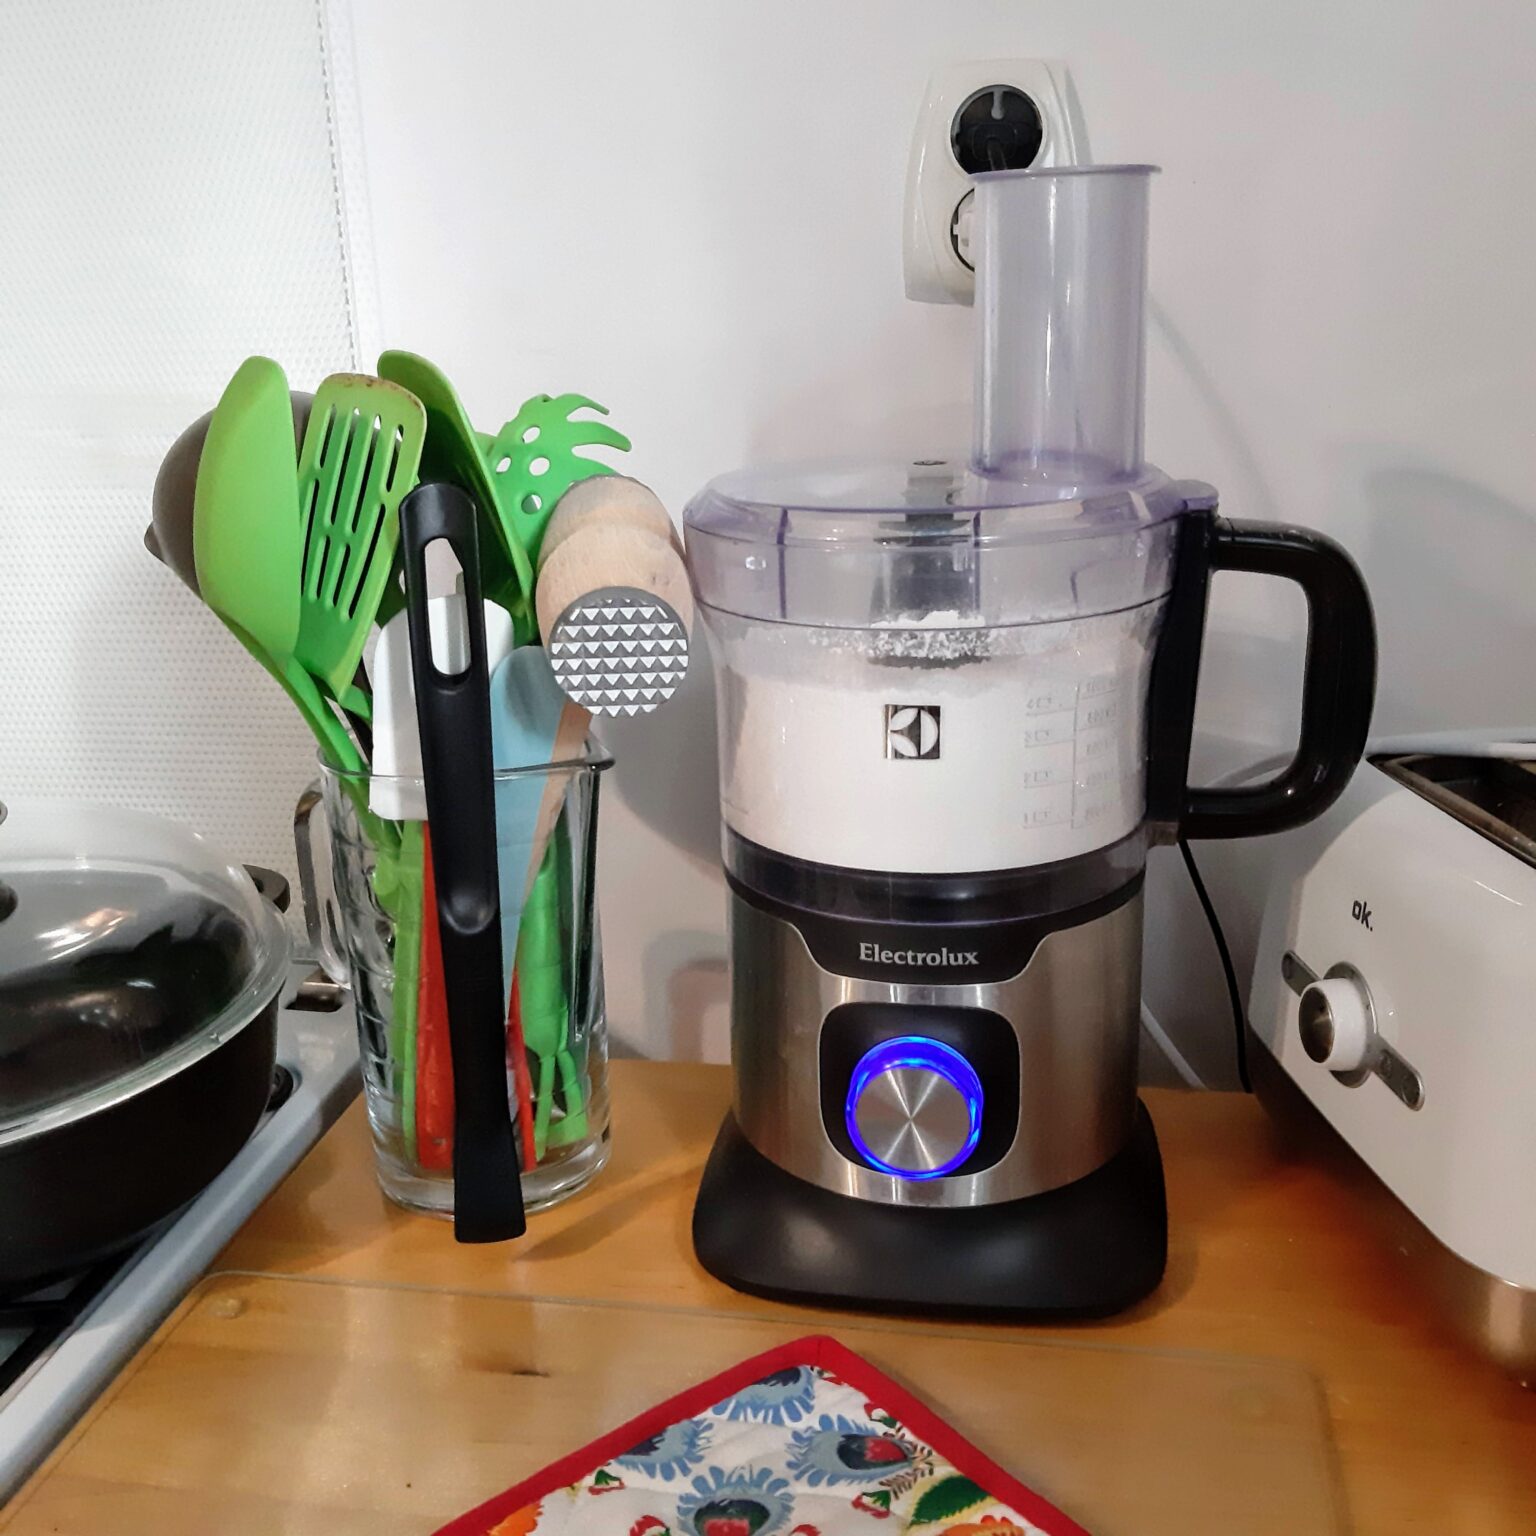
Choose your weapon 😉 You can make your dough by hand, in a bowl or on the counter top, or even whizz it up in a food processor. You choose the method that works best for you. I switched over to the food processor method just because it is faster for me.
Aerate the flour. Sift the flour or whisk it in a bowl or zap it in a food processor for about 20 seconds.
Boil water like you are making a cup of tea. Pour out a cup of hot water and add a tablespoon of butter or oil. I use a spouted sauce pitcher or a Pyrex heat safe pitcher to make it easier to pour out into the dough.
Slowly add the hot water to the flour and mix, with a wooden spoon if the water is too hot and then with your hands. In the food processor, you can add hot water, little by little while you mix.
Keep adding hot water until soft, pliable dough forms. If the dough is too sticky, add a bit more flour. If the dough is too dry, add a bit more water. In the food processor, it will pull away from the sides and form a ball.
Place your dough on a floured surface, flour your rolling pin and go! Roll out the pierogi dough to a thickness you are comfortable working with. Expert pierogi makers often roll their dough quite thin, but my family is a doughy family so I can roll it a little thicker.
Cut your dough into circles, fill with a filling of your choice. Fold over and pinch. If you don't wait too long, your dough should still be soft and then no extra water is needed to seal the pierogi with just a few pinches. Place your pierogi on a floured surface and cover with a tea towel until time to boil.
Tips and tricks: Flour
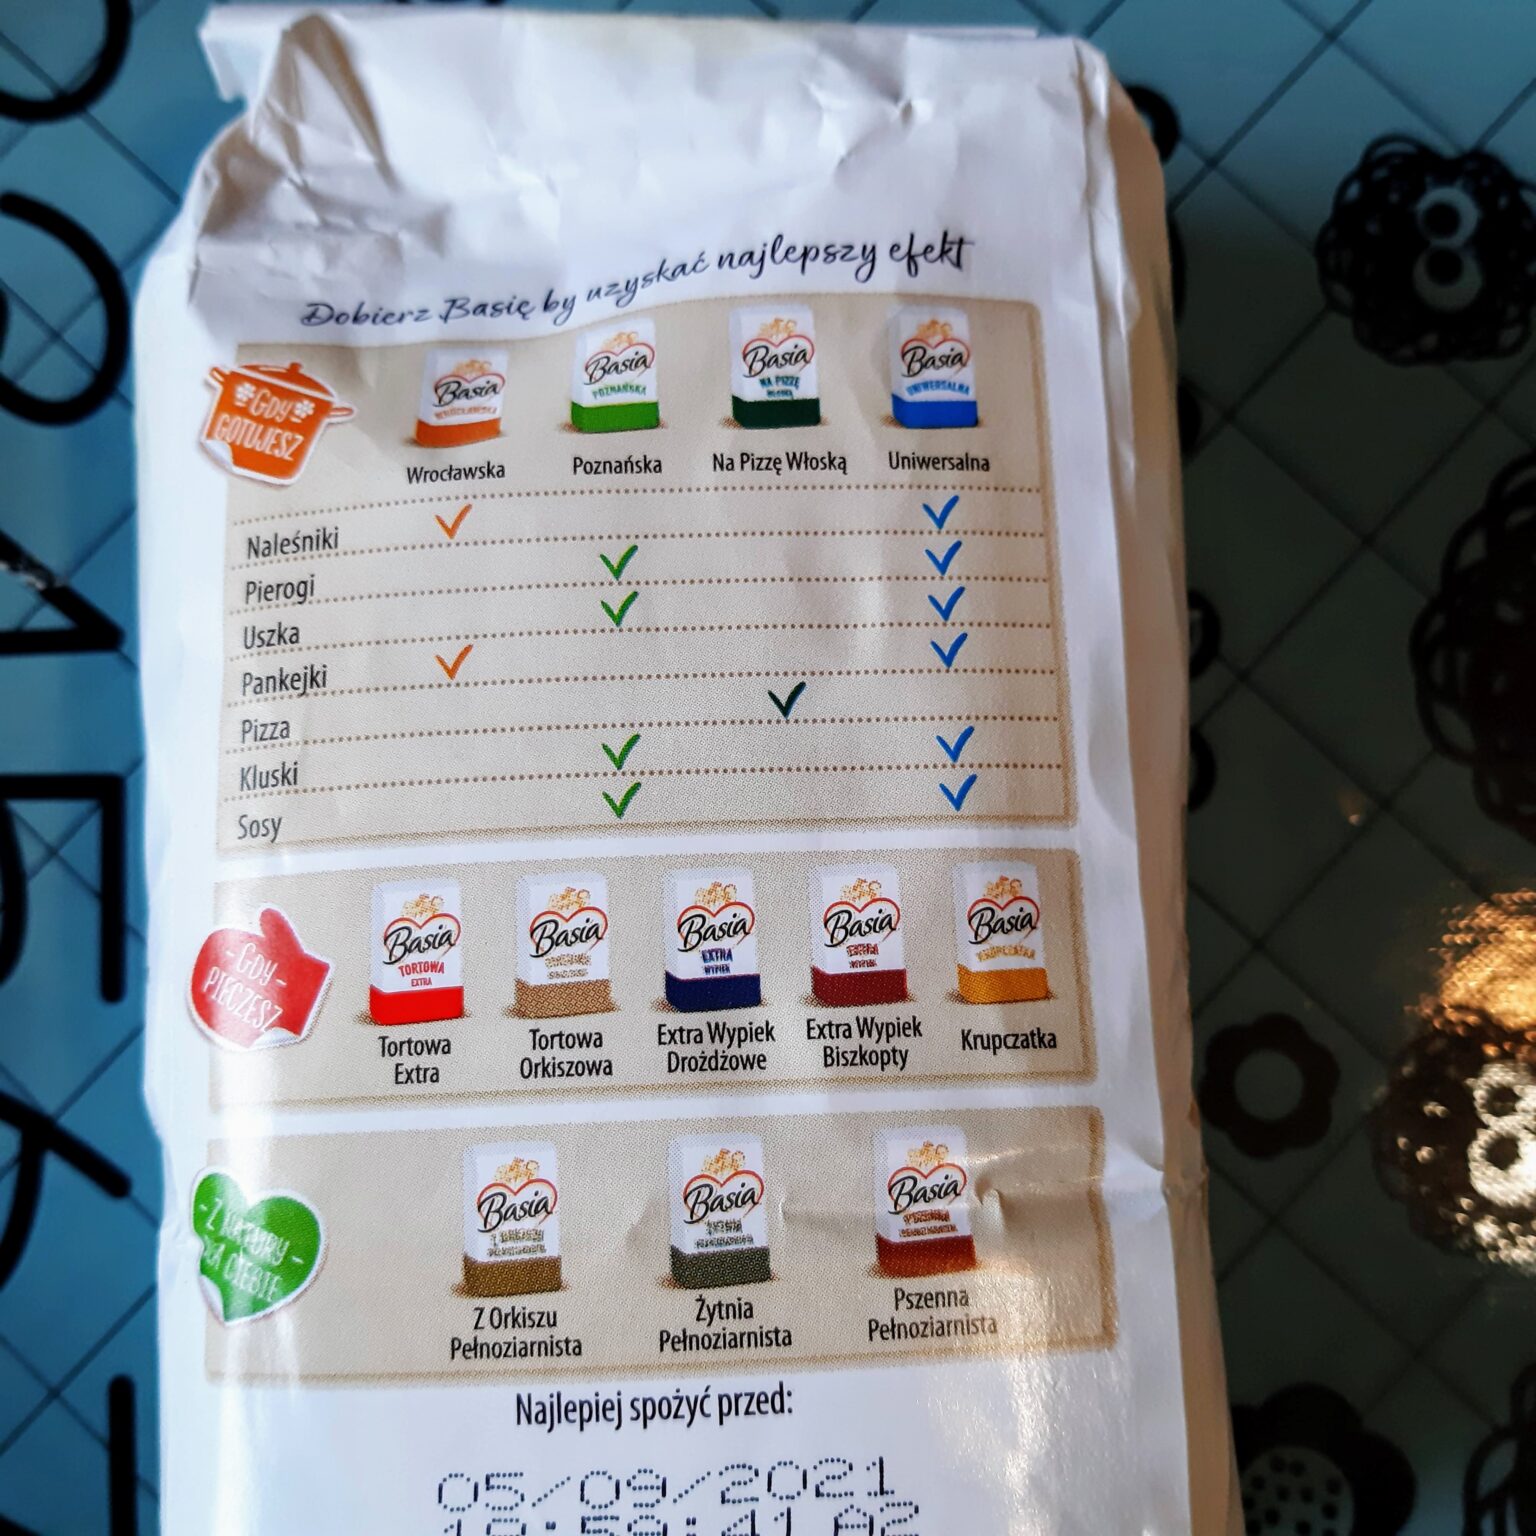
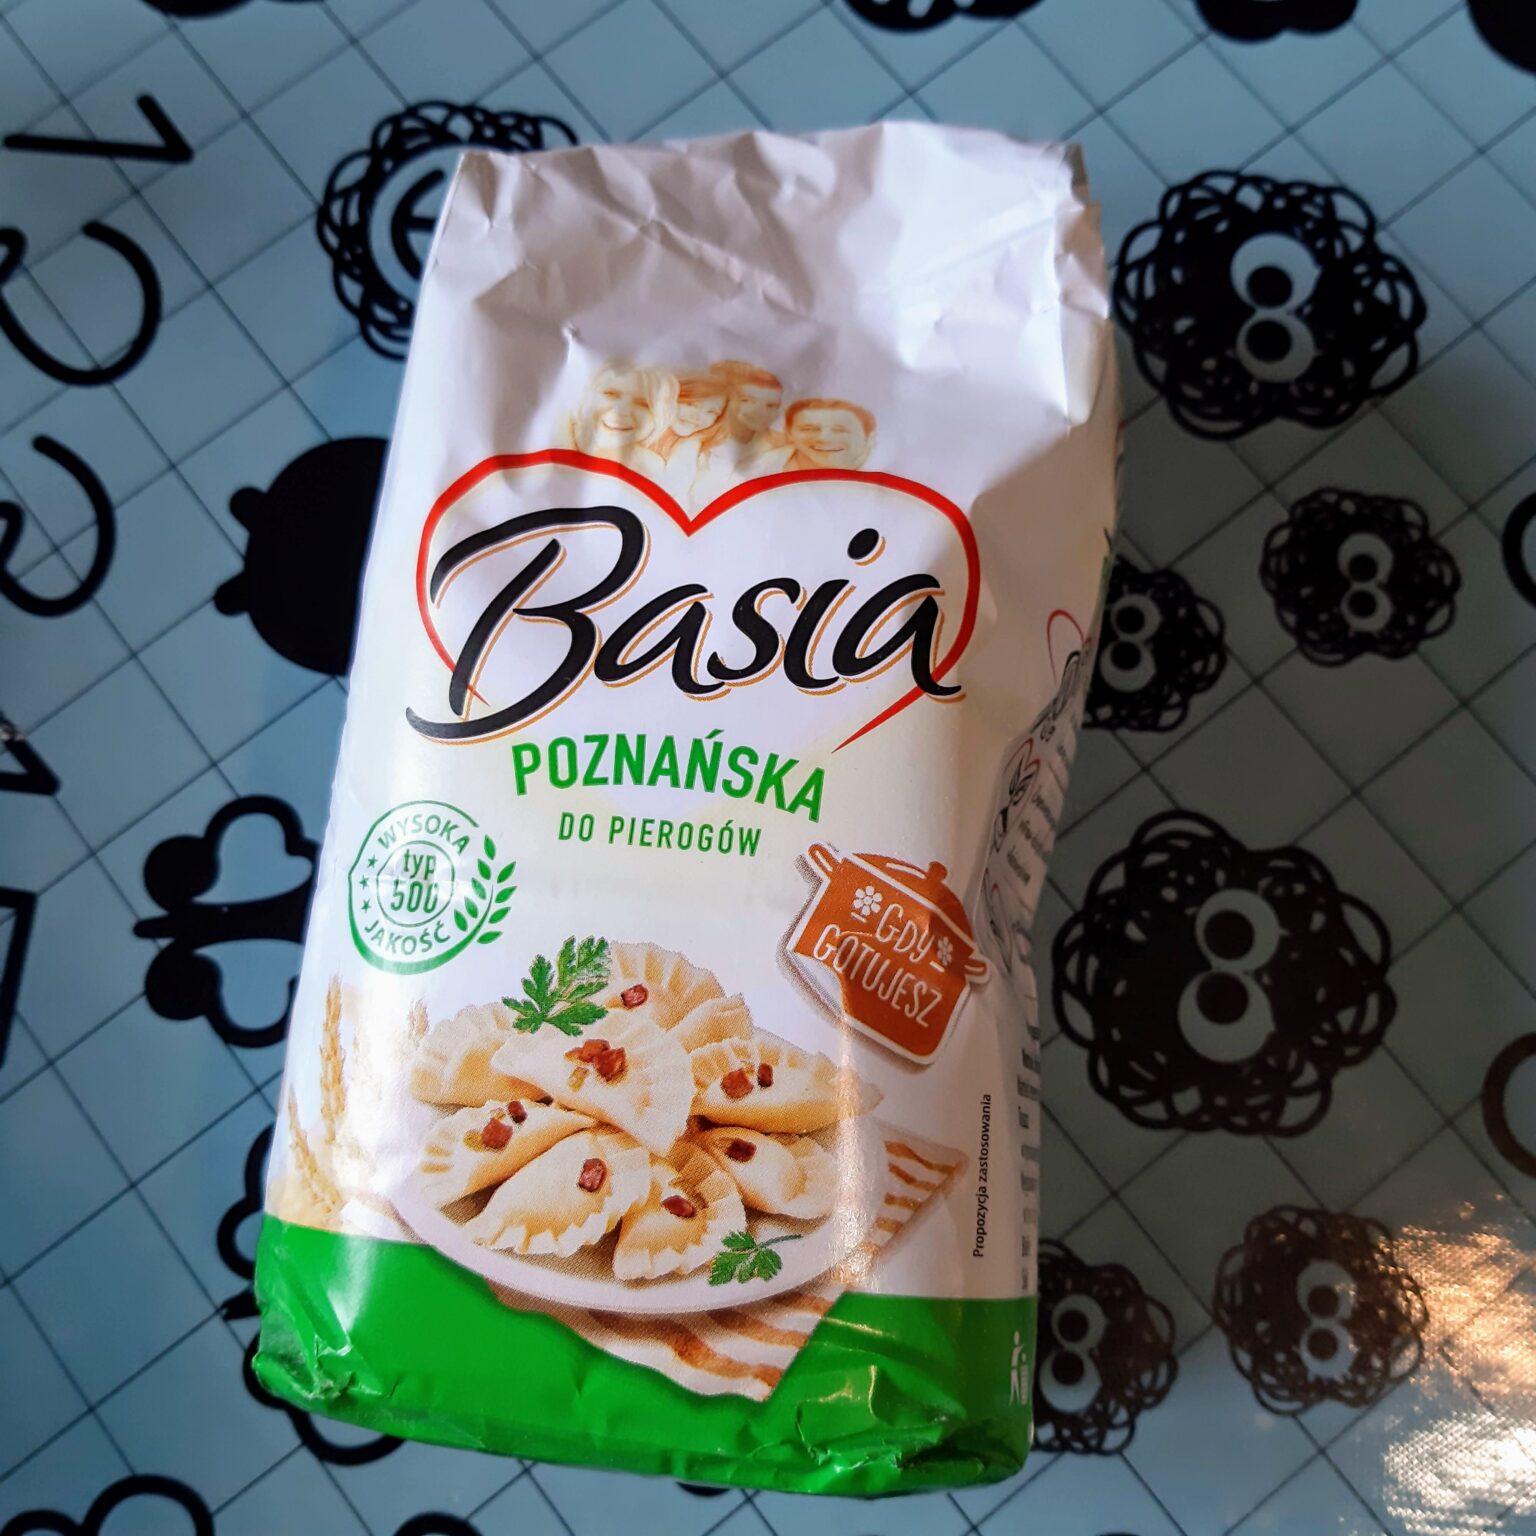
If you live near a Polish store and you'd like to buy Polish flour look for Poznańska typ 500. It's easy to spot because it has a picture of pierogi on the package. Otherwise use all-purpose flour.
Tips and tricks: Extra ingredients
When I asked Babcia about adding eggs or sour cream to the dough she said "nie kombinuj, Kryśka" meaning something like I shouldn't get any bright ideas. She never added anything else to her regular pierogi dough, not even salt, as she salted her filling and salted the water she boiled the pierogi in.
Tips and tricks: Get help
Get your family involved because making pierogi can take awhile. My husband boils pierogi while we are rolling and filling. We've got a real family production line going on. Plus it is fun to spend time with your family in the kitchen making memories.
Tipes and tricks: Pierogi makers
When I am making pierogi myself, I don't use them. However everybody has their own technique, so if the whole family is involved we do use the individual pierogi makers so that all the pierogi look the same.
Smacznego to you!
Potato and Cheese Pierogi (Pierogi Ruskie)


Ingredients
Directions
Prepare your area and assemble your team. You will need a large, clean surface for preparing and rolling out your dough and an area to place your pierogi before boiling and also after boiling. Have some clean tea towels on hand to cover your pierogi before boiling so they don't dry out.
Choose your weapon 😉 You can make your dough by hand, in a bowl or on the counter top, or even whizz it up in a food processor. You choose the method that works best for you. I switched over to the food processor method just because it is faster for me.
Aerate the flour. Sift the flour or whisk it in a bowl or zap it in a food processor for about 20 seconds.
Boil water like you are making a cup of tea. Pour out a cup of hot water and add a tablespoon of butter or oil. I use a spouted sauce pitcher or a Pyrex heat safe pitcher to make it easier to pour out into the dough.
Slowly add the hot water to the flour and mix, with a wooden spoon if the water is too hot and then with your hands. In the food processor, you can add hot water, little by little while you mix.
Keep adding hot water until soft, pliable dough forms. If the dough is too sticky, add a bit more flour. If the dough is too dry, add a bit more water. In the food processor, it will pull away from the sides and form a ball.
Place your dough on a floured surface, flour your rolling pin and go! Roll out the pierogi dough to a thickness you are comfortable working with. Expert pierogi makers often roll their dough quite thin, but my family is a doughy family so I can roll it a little thicker.
Cut your dough into circles, fill with a filling of your choice. Fold over and pinch. If you don't wait too long, your dough should still be soft and then no extra water is needed to seal the pierogi with just a few pinches. Place your pierogi on a floured surface and cover with a tea towel until time to boil.
Tips and tricks: Flour
If you live near a Polish store and you'd like to buy Polish flour look for Poznańska typ 500. It's easy to spot because it has a picture of pierogi on the package. Otherwise use all-purpose flour.
Tips and tricks: Extra ingredients
When I asked Babcia about adding eggs or sour cream to the dough she said "nie kombinuj, Kryśka" meaning something like I shouldn't get any bright ideas. She never added anything else to her regular pierogi dough, not even salt, as she salted her filling and salted the water she boiled the pierogi in.
Tips and tricks: Get help
Get your family involved because making pierogi can take awhile. My husband boils pierogi while we are rolling and filling. We've got a real family production line going on. Plus it is fun to spend time with your family in the kitchen making memories.
Tipes and tricks: Pierogi makers
When I am making pierogi myself, I don't use them. However everybody has their own technique, so if the whole family is involved we do use the individual pierogi makers so that all the pierogi look the same.
Smacznego to you!

7 Comments
Greg Spring
January 27, 2021 at 6:13 pmThanks for changing the “use an egg” to “I told you so”.
Chris
January 28, 2021 at 9:10 amHahaha, you’re welcome. The only time Babcia reluctantly agreed to eggs in the dough was if you were making pierogi for soup and wanted to toughen the dough up a bit. But a tougher dough for the soup means a tougher dough for rolling.
Iwona
July 15, 2022 at 4:58 pmHi Chris – your Pierogi look so neat – when I’ve made mine by hand they do look a bit malformed and sometimes they come apart in the water. Would you mind letting me know which pierogi maker you use? There are so many different ones? Dziekuje bardzo
Chris
July 19, 2022 at 7:12 amHi! Thank you for the compliments 🙂 You should have seen my first couple of batches of pierogi. Each one looked decent enough but each one looked entirely unique. The more I made them, the faster I got and they somehow started to look nice too. I only use forms when someone is helping me. That way all the pierogi look the same. I use these forms https://allegro.pl/oferta/foremka-do-pierogow-maszynka-pierogi-pierogownica-9847214010?utm_feed=aa34192d-eee2-4419-9a9a-de66b9dfae24&utm_content=supercena&utm_term=desc-yes&utm_source=google&utm_medium=cpc&utm_campaign=_dio_wyposazenie-got_pla_ss_sc&ev_adgr=wyposazenie-got_sc&ev_campaign_id=15003295093&gclid=CjwKCAjwrNmWBhA4EiwAHbjEQM4eG1QyV_PJKVOqzxj5L1D9594lMK2HkHfc3Az27YrKhN36mEXKEhoC5LYQAvD_BwE
Iwona
July 20, 2022 at 6:38 pmThank you so much for the link – I shall order some today. I have just eaten a batch of bigos pierogi and pierogi kartoflane. We never called them Ruskie when my parents were alive and I can’t bring myself to call them that now. I was surprised at how neat mine looked this time, just formed by hand. Its years since I’ve eaten them having been gluten free for years, but I tried your easy dough with white spelt flour and it really worked quite well. I used the whole amount and cooked the lot so have pierogi to fry up tomorrow for hubby and me – the best way to eat them!
Do you ever make ‘chrust’?
Best wishes Iwona
Tracie
November 25, 2023 at 9:25 pmLOVE THIS AWESOME IN THE FOOD PROCESSOR ! THANKS 4 POSTING
Chris
November 27, 2023 at 6:57 amIt turned out to be a real holiday lifesaver for me. It’s so much easier. Enjoy your pierogi 🙂